Last updated June 24, 2025
How to setup Microsoft Apps with your Agents

Guide: How to Connect VISS.AI to Your Microsoft Organization
For most users, the integration process is simple: When you first try to connect your Microsoft account to VISS.AI, it will redirect you to Microsoft's login page. You'll sign in with your work account, and Microsoft will show you a consent screen listing what permissions VISS.AI needs. You simply click "Accept" and you're done.
If you can't log in to your Microsoft account or are unable to connect your microsoft account to VISS.AI, it is likely you need to contact your colleague who is an admin and handles Microsoft authorities in your company. Look for someone with the title of IT Administrator, Global Administrator, or similar role in your organization.
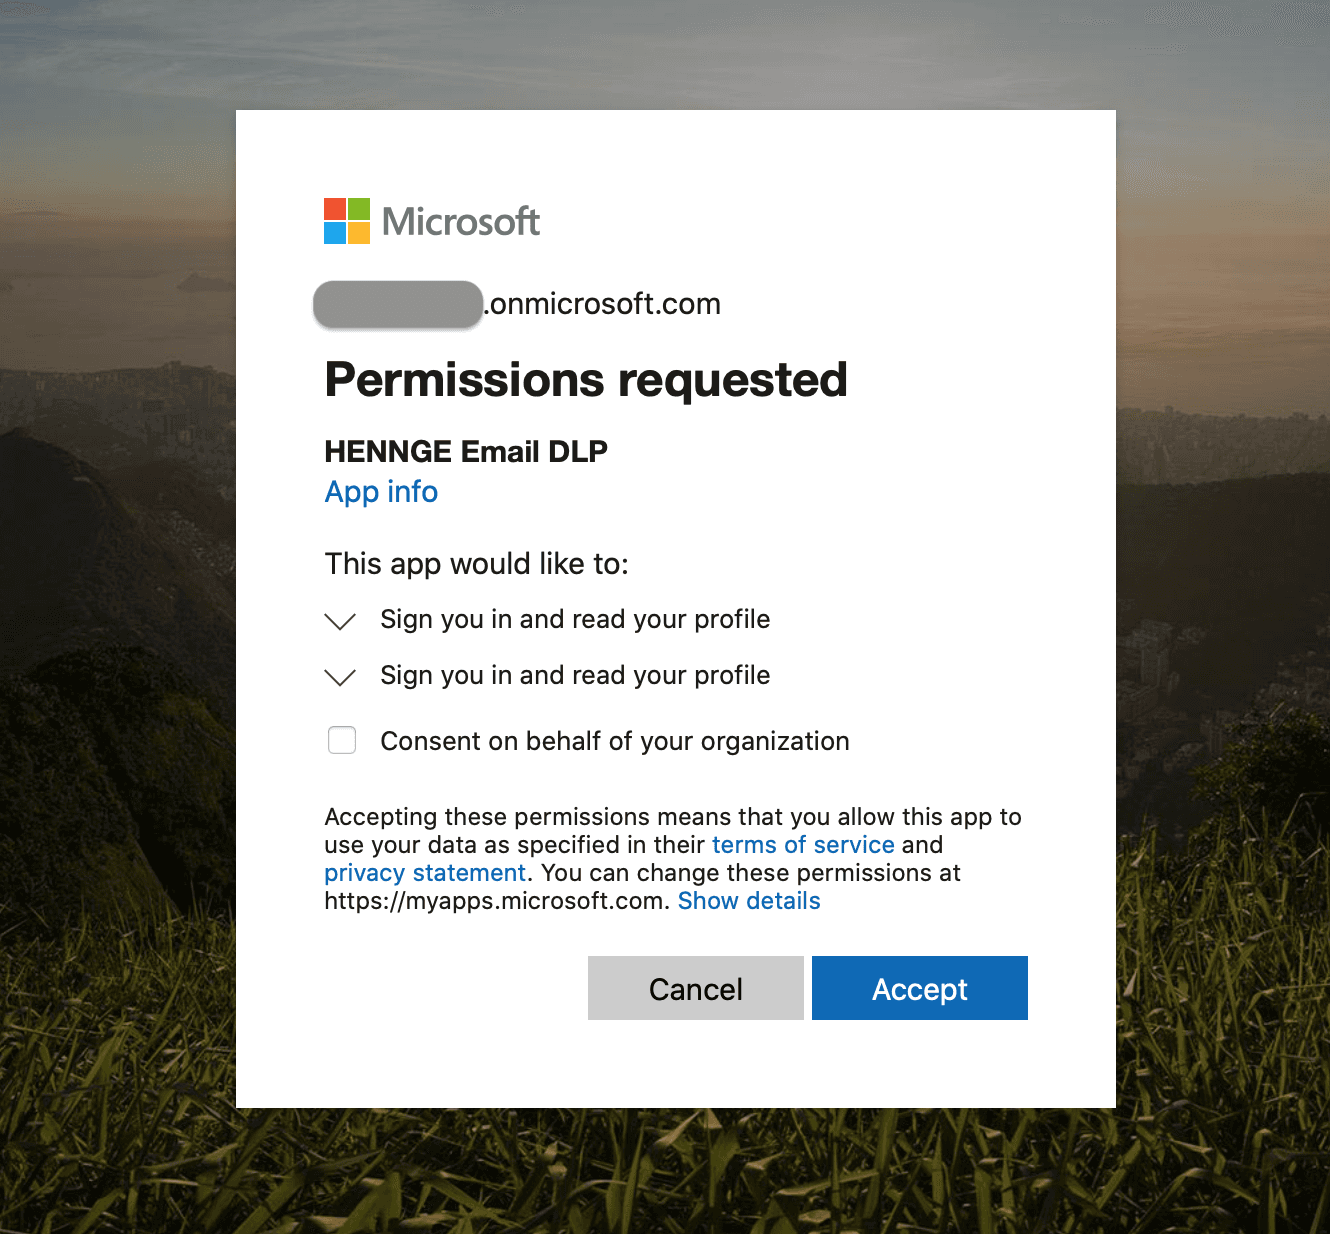
Maybe you got stopped by similar reasons as these pictures:
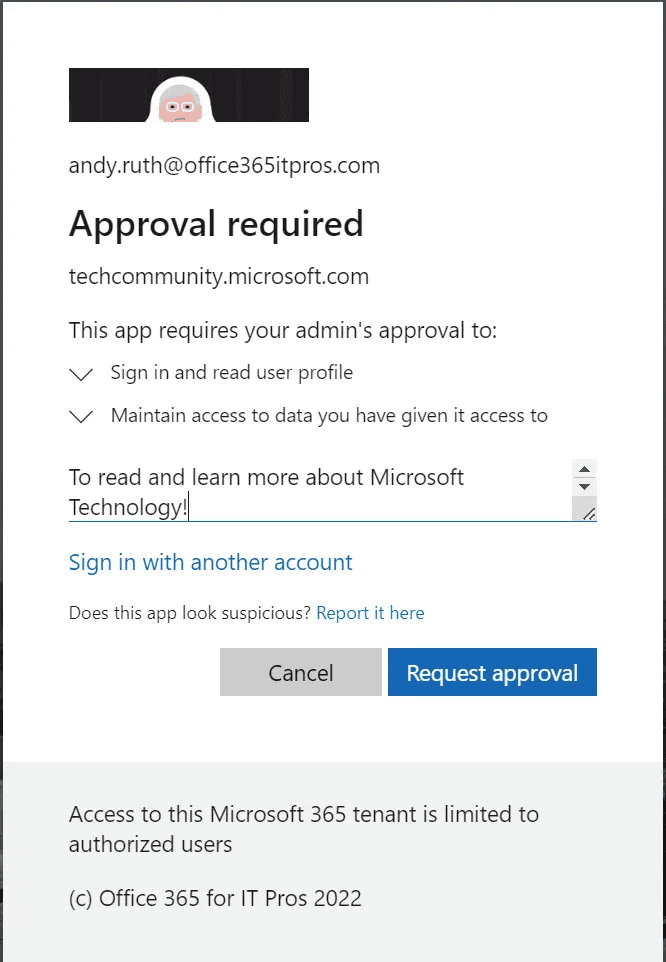

First, have your IT Admin/Microsoft Admin log in to their Microsoft account through VISS.AI.
If you receive an approval request or VISS.AI is blocked, a Microsoft Admin account must log in first, as they have the ability to consent VISS.AI for your entire Microsoft Organization. They should select "Consent on behalf of your organization" when prompted. Once this is completed, non-admin users will be able to connect their Microsoft accounts to VISS.AI. If this approach doesn't work for any reason, let the IT/Microsoft admin go through the detailed guide below or contact us at VISS.AI:
Give this guide to your Microsoft/IT Admins
This guide walks you through the process of granting tenant-wide admin consent to allow viss.ai (or any third-party application) to access your Microsoft 365 organization's resources. This process enables the application to integrate with your Microsoft services like Teams, SharePoint, Outlook, and other Microsoft Graph APIs.
What is Tenant-Wide Admin Consent?
When you grant tenant-wide admin consent to an application, you give the application access to the permissions requested on behalf of the whole organization. This is a sensitive operation that potentially allows the application access to significant portions of your organization's data or permission to perform highly privileged operations.
Prerequisites
Before you begin, ensure you have:
Administrative Access: You must be signed in as one of the following roles:
- Global Administrator (recommended for most scenarios)
- Privileged Role Administrator (for granting consent for apps requesting any permission)
- Cloud Application Administrator or Application Administrator (for most permissions, except Microsoft Graph app roles)
- A custom directory role with permission to grant applications access
- Organization Authority: You must have the authority to make decisions about what applications can access your organization's data
- Application Information: The application ID or name of viss.ai (this will be provided by the viss.ai team)
Step-by-Step Guide
Method 1: Grant Consent Through Enterprise Applications (Recommended)
Step 1: Access the Microsoft Entra Admin Center
1. Sign in to the Microsoft Entra admin center as at least a Cloud Application Administrator
2. Navigate to Microsoft Entra ID in the left sidebar
Step 2: Find the Application
1. Browse to: Entra ID > Enterprise applications > All applications
2. Search for the application: Note: The application will only appear here if at least one user has already attempted to consent to it, or if it has been pre-registered
- Enter "viss.ai" or the specific application name in the search box
- Select the application from the search results
Step 3: Review and Grant Permissions
1. Select Permissions under the Security section
2. Carefully review the permissions that the application requires
3. Evaluate each permission to ensure they align with your organization's security policies
4. Click "Grant admin consent" if you agree with the permissions the application requires
Step 4: Confirm the Consent
When you grant tenant-wide admin consent using either method described in the previous section, a window opens from the Microsoft Entra admin center to prompt for tenant-wide admin consent
1. A consent dialog will appear showing:
2. Review the consent prompt carefully
3. Click "Accept" to grant the permissions organization-wide