Last updated June 24, 2025
How to setup Apollo.io with your Agents
Step 1: Create Your Apollo Account (If You Don't Have One)
1. Visit apollo.io
2. Click "Sign Up" and create your free account
3. Complete the onboarding process
4. Verify your email address
Step 2: Access the Settings Menu
1. Log into your Apollo account
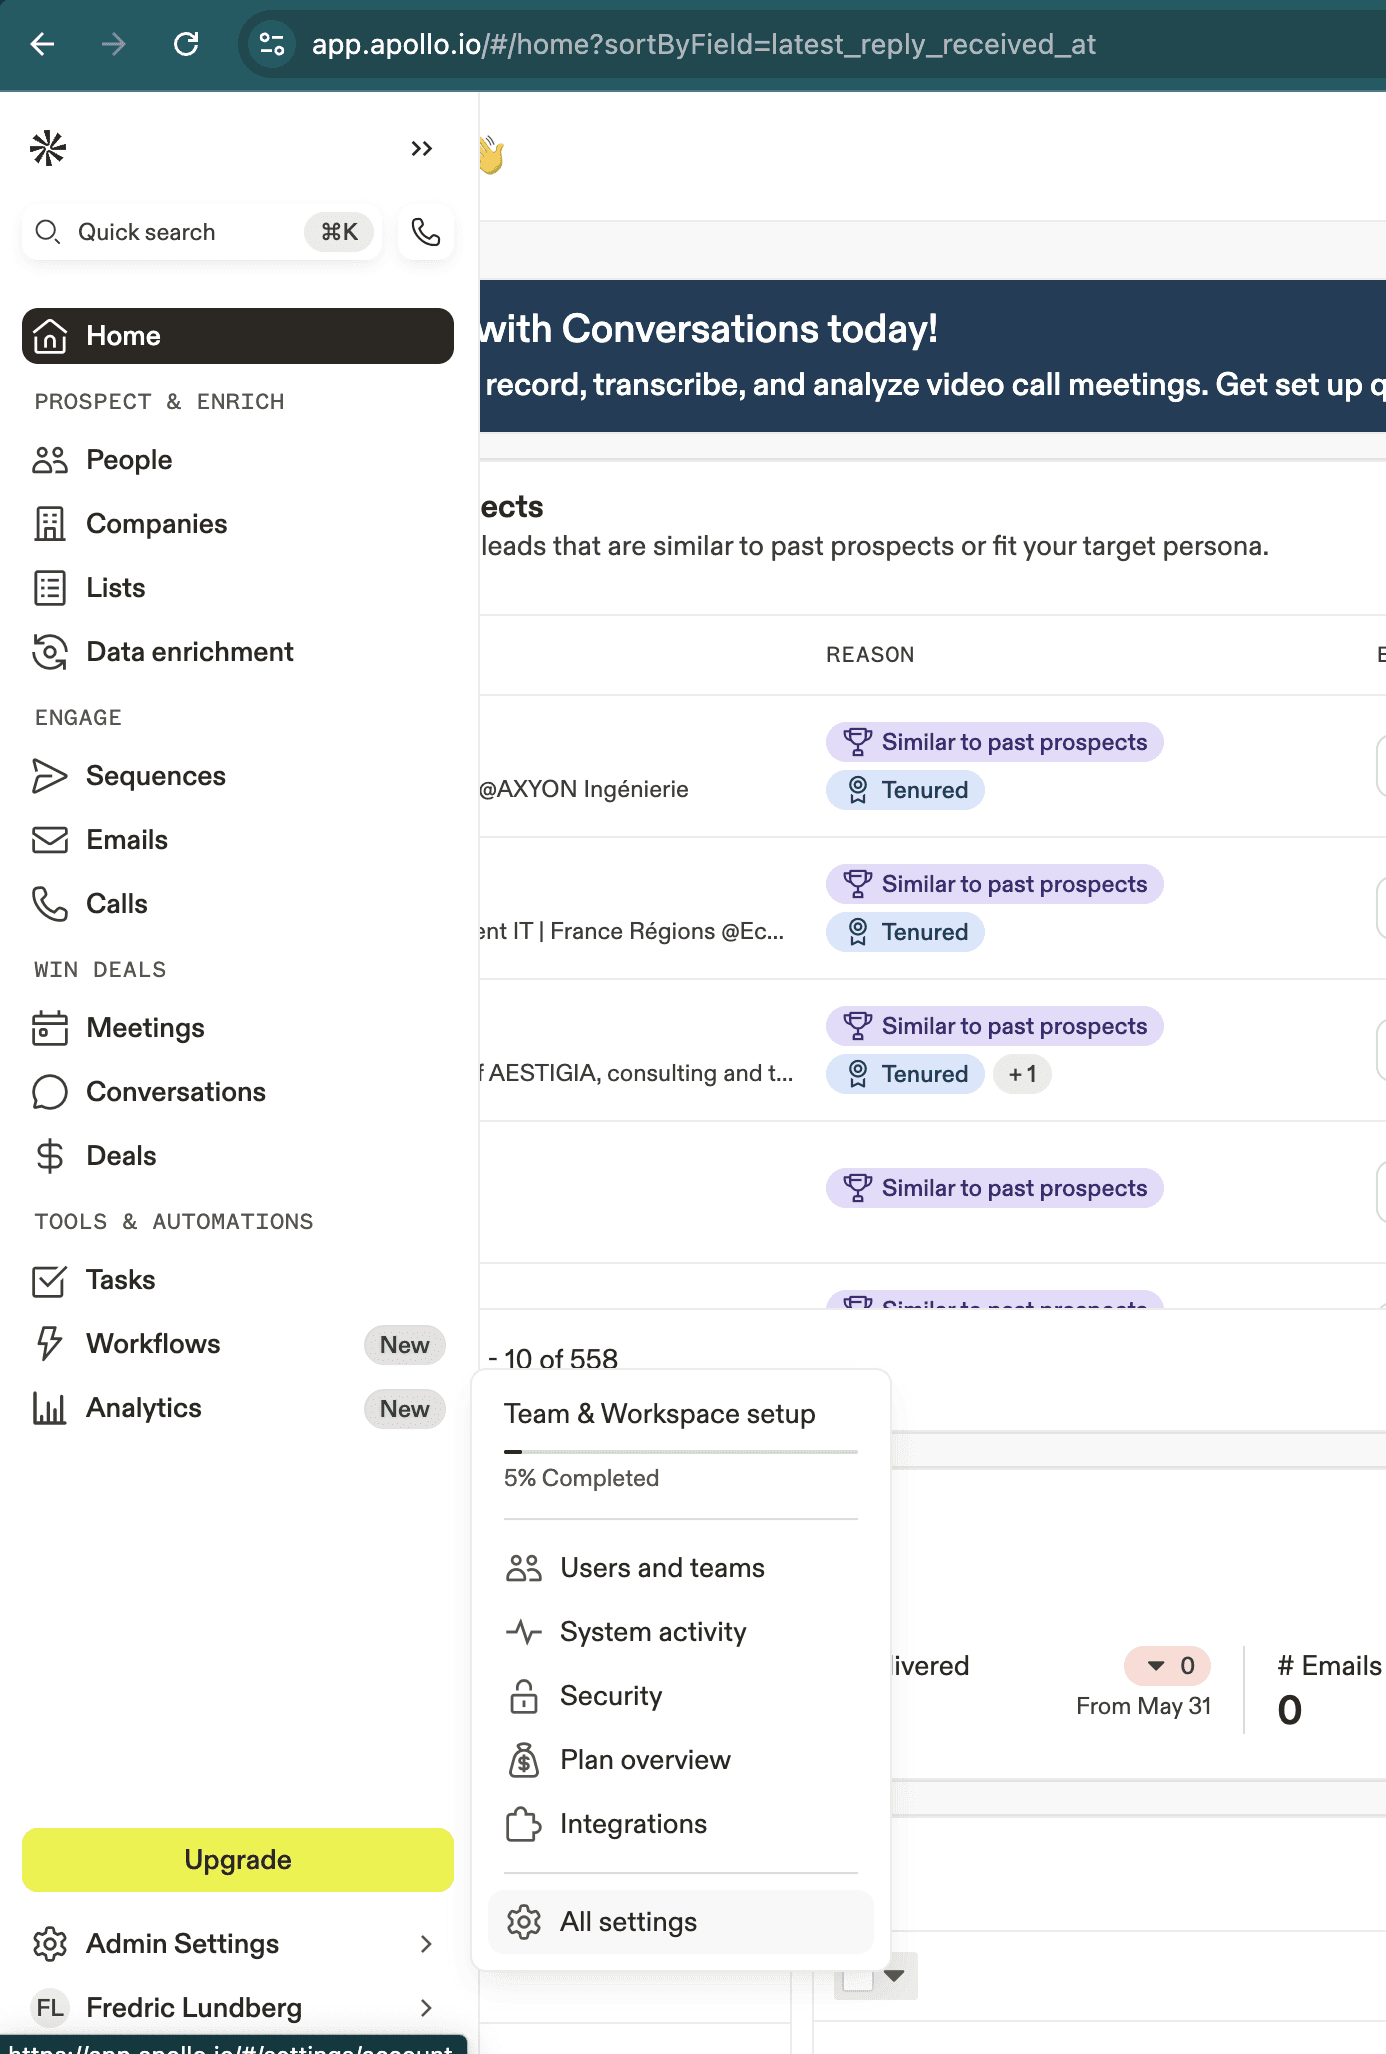
2. Navigate to Settings: In the bottom left corner, you'll see a cog wheel labeled "Settings." Click on this cog wheel to access the settings menu
Step 3: Find the Integrations Section
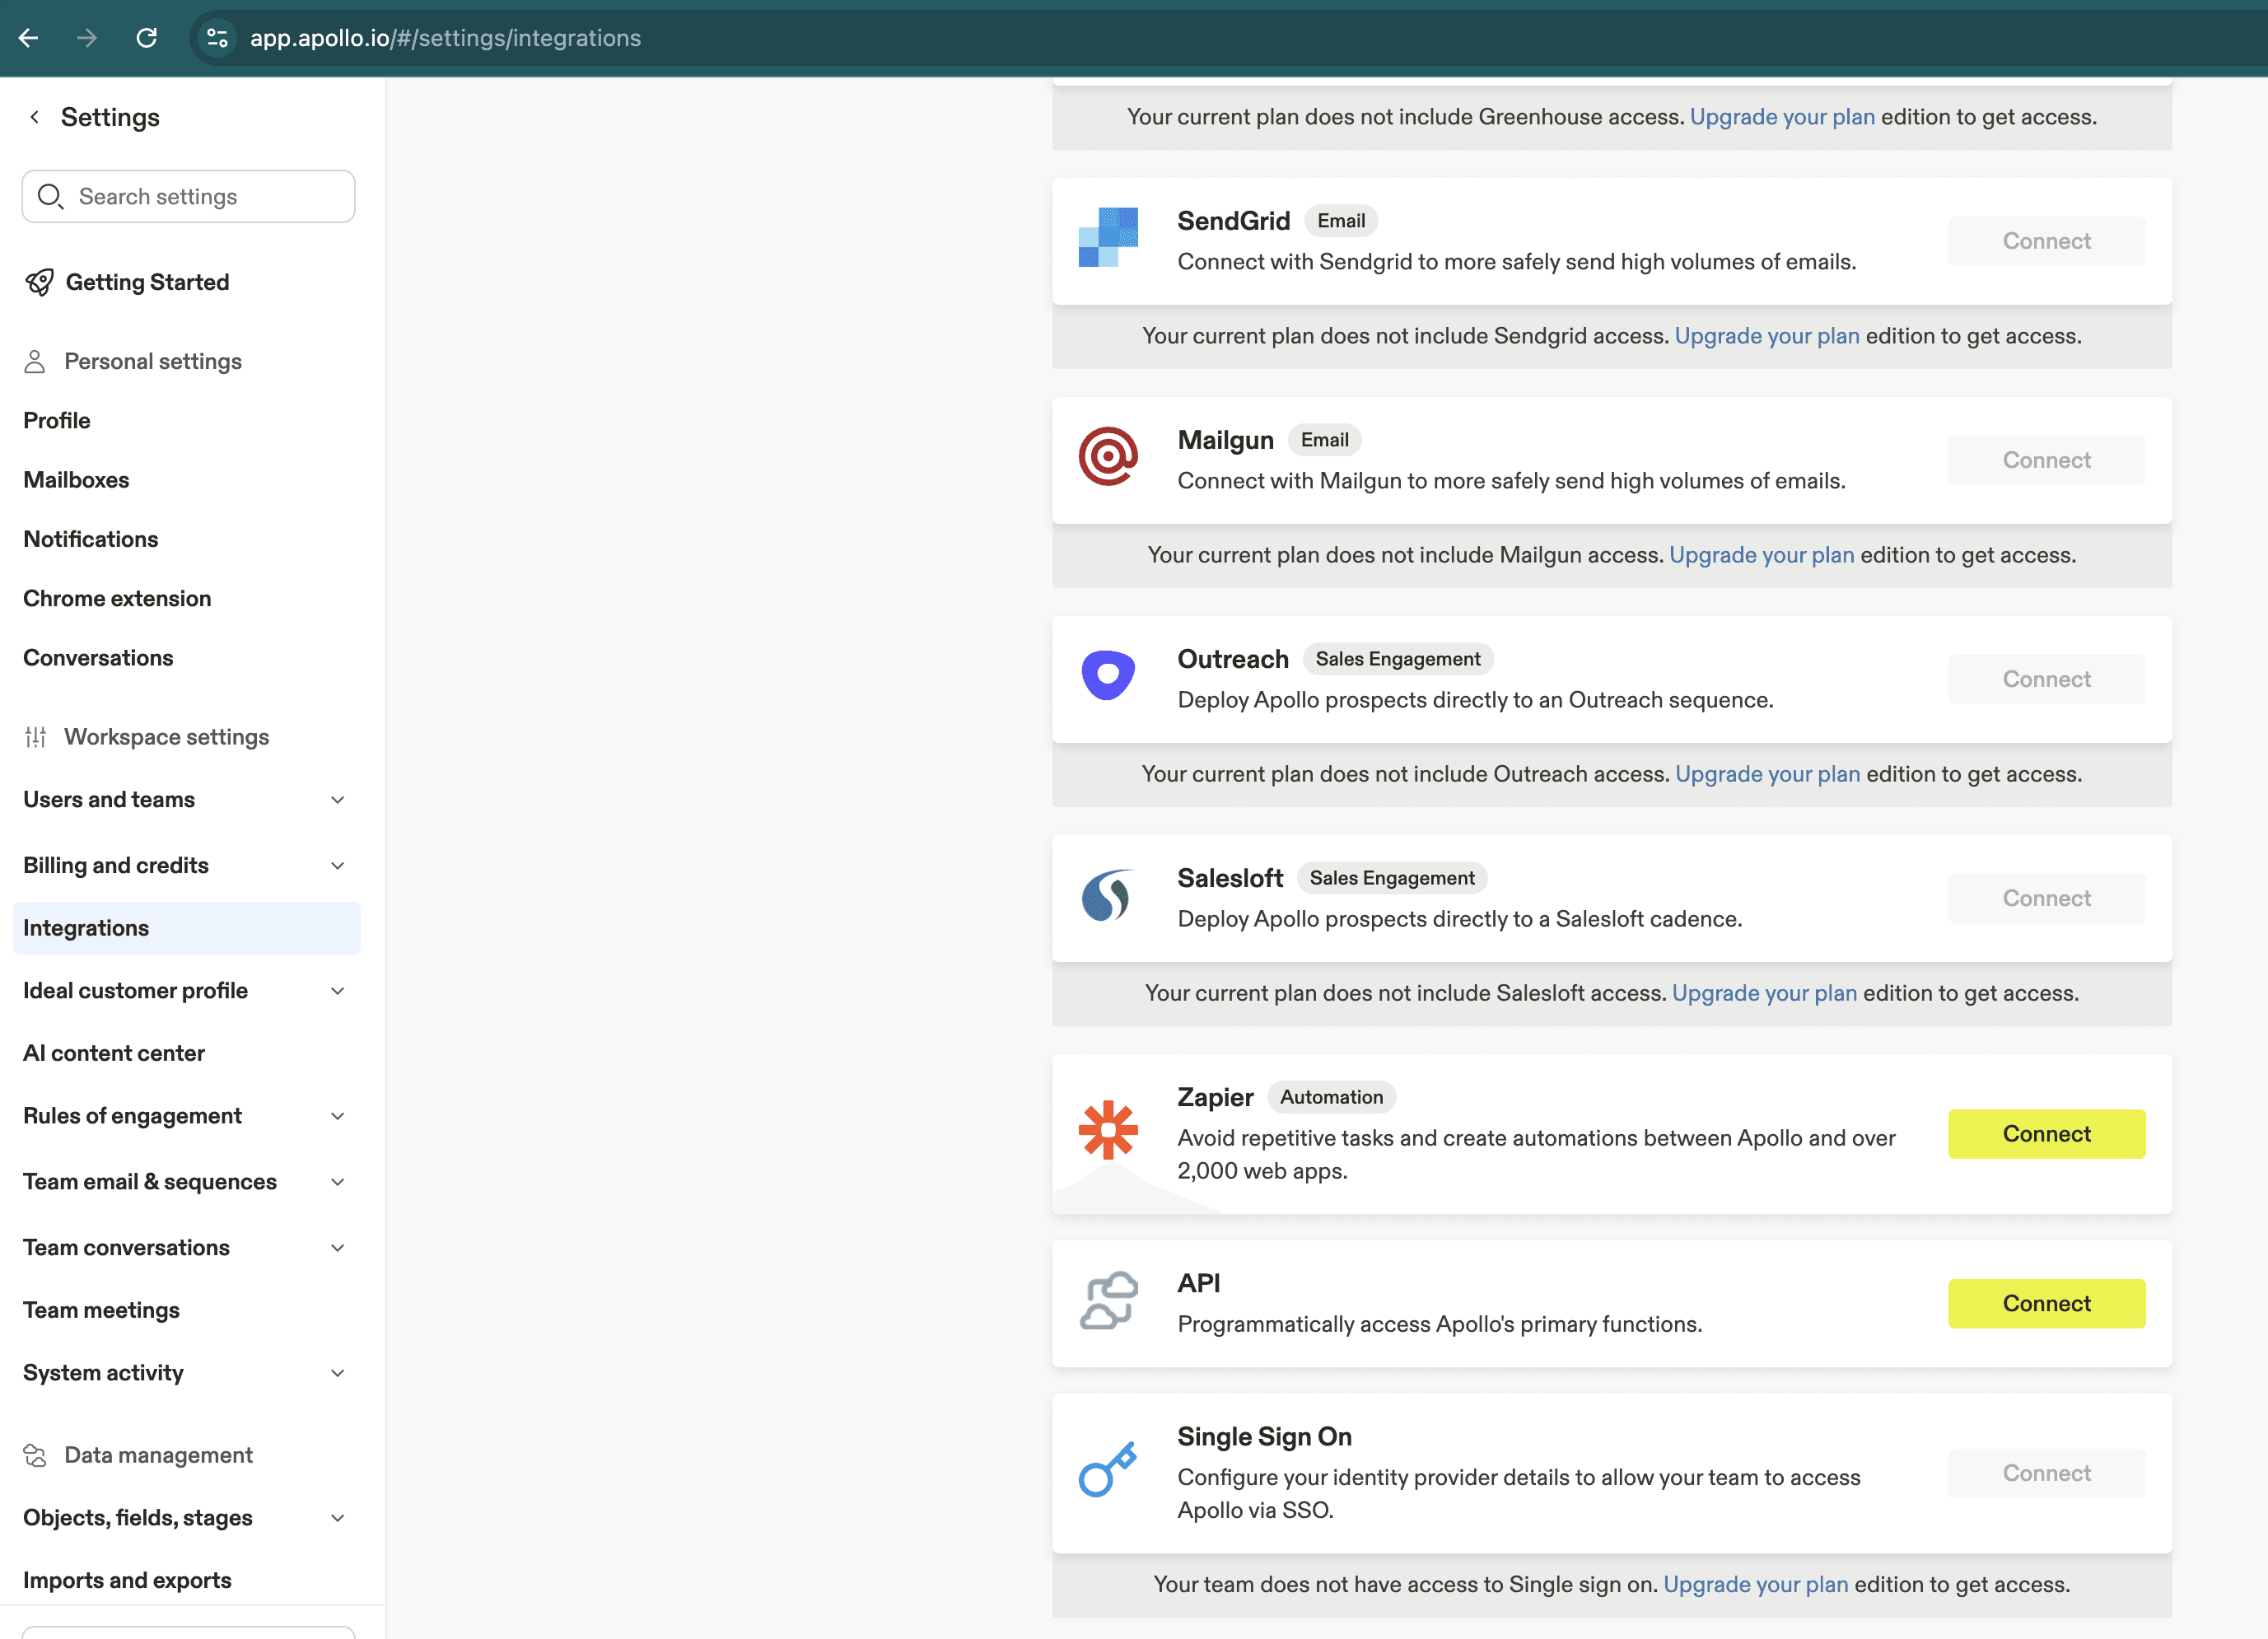
1. Select Integrations: Once in the settings menu, look for the tab called "Integrations" under the "Configurations" section and select it
2. Locate API Section: Scroll down within the Integrations section until you find the "API" tab
3. Click Connect: Click on the "Connect" button next to the API option
Step 4: Create Your API Key
1. Access API Key Management: After clicking "Connect," you will be presented with the Apollo API Quick Start screen. On the left side of this screen, find the navigation bar and select "API Keys" under the API Management section
2. Create New Key: Click + Create New Key to generate a new API Key
3. Configure Your API Key:
- Name Your Key: Provide a name for your new API Key (like "My Integration" or "Test API")
- Add Description: Include a description explaining what you'll use this key for
- Set Permissions: Choose which Apollo API endpoints you need access to by checking the appropriate boxes
- Master Key Option: Turn Set as Master Key option ON if you need access to all available endpoints for your plan
4. Generate the Key: Click "Create API Key" to generate your new API key.
